Working with wood
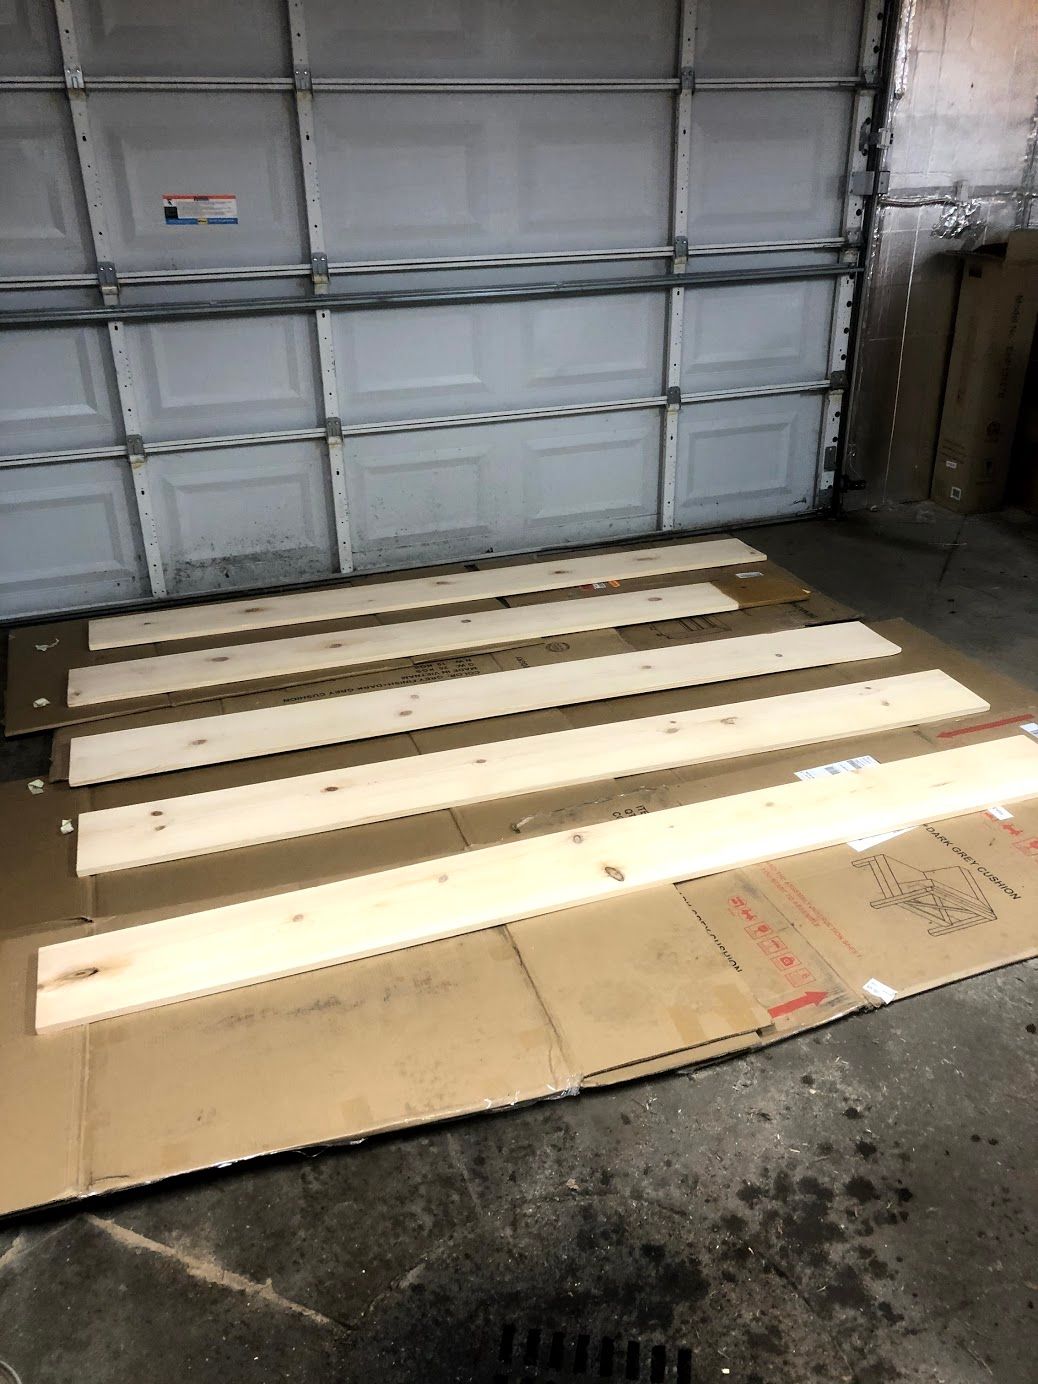
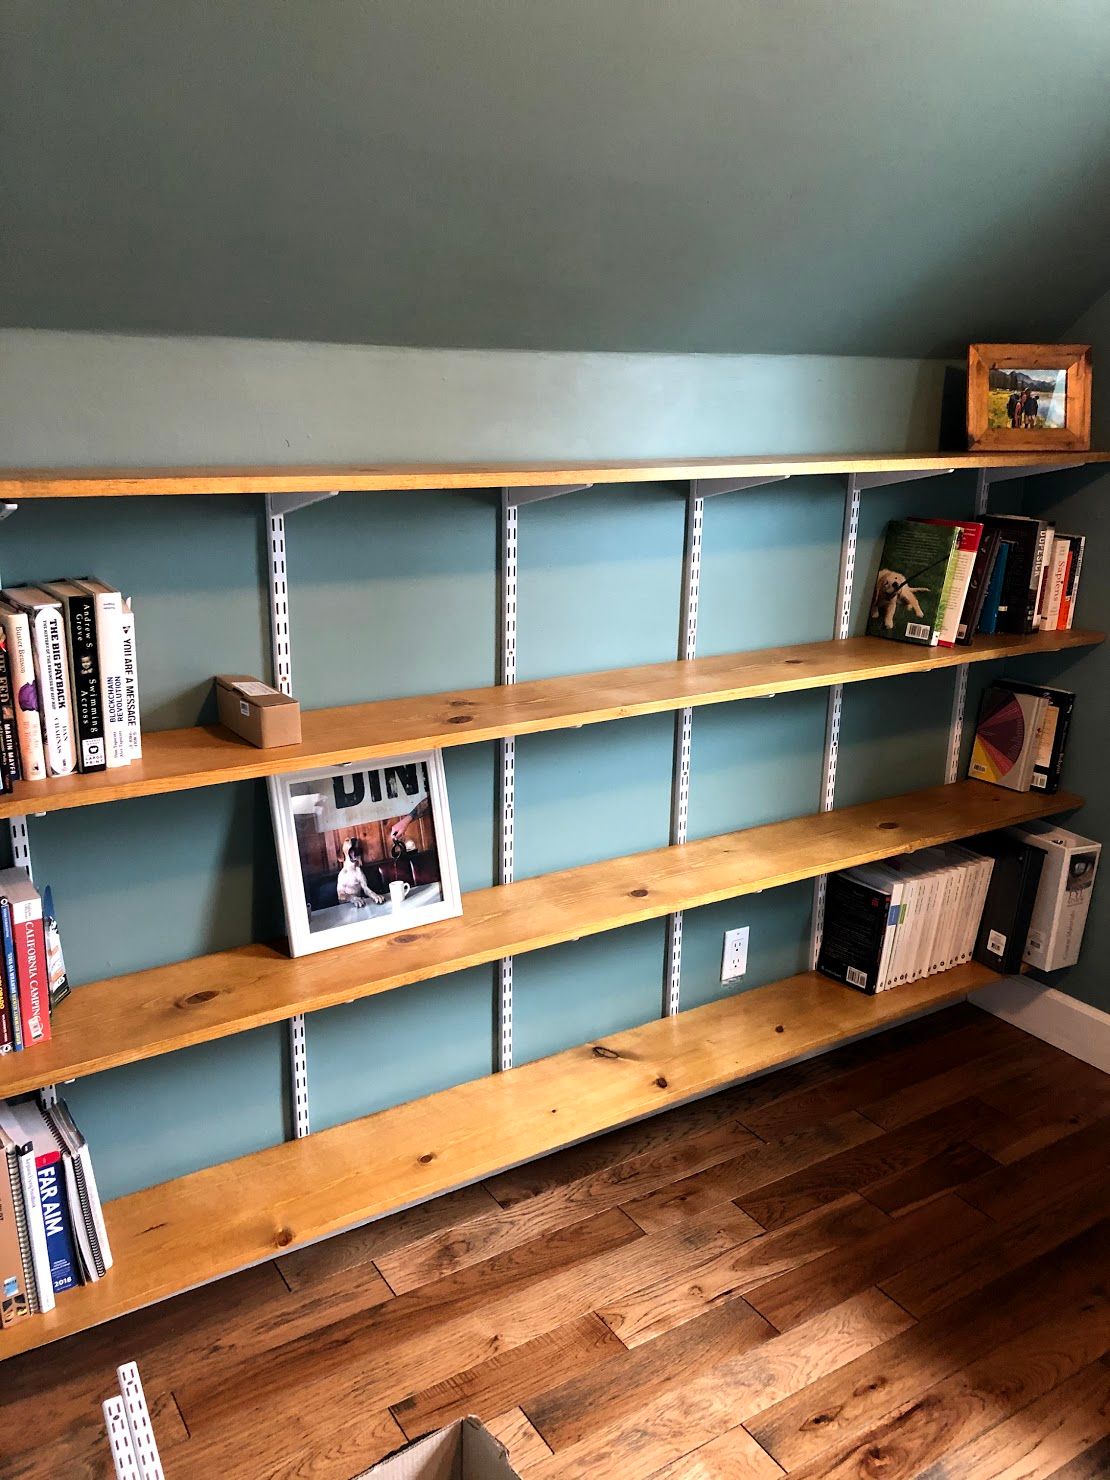
The last couple of days have exposed an incredibly deep rabbit hole for me. I recently started a shelving project for my office space that involves five 8 foot wooden planks that are 10 inches wide. I knew nothing about preparing or finishing wood prior to this project, but have invested a considerable amount of time in figuring it out. The below notes are mostly for future reference, but hopefully they are useful to others that start a similar project.


As far as I’m able to tell, there are four major components of preparing wood for use in an interior or exterior setting.
Choosing wood
There are many different types of wood, and they each have different properties and appearances. Depending on what you’re maximizing for, you may choose differently (e.g. price, durability, grain patterns, etc.). Each type of wood takes stains and finishes differently, so that’s a good consideration, as well.
In my case, I wanted something cheap so that if I messed up any part of the process, I could easily get another piece of wood to start over. The most common types of 1 inch wood planks at a local hardware store seem to be the following, ranging from least to most expensive:
- Pine
- Poplar
- Oak
- Cedar
I chose pine for its price and availability (it is also referred to as “common” wood), then chose 5 boards that were of similar length and had the least bend in them. In practice, it seems like all boards have some imperfection so it’s impractical to find the perfect board to start.
Preparing wood
Because of the imperfections and roughness of unfinished boards, preparing the wood requires sanding down rough portions for consistency when staining and finishing the wood.
It’s recommended that on all wood, you should start with a rough sand paper (between 80 and 120) and then gradually work your way up to a finer sand paper (220) to even everything out.
Pine tends to be a softer wood with early and late portions that absorb stain differently which leads to blotchiness. In order to even out the future stain applied to the wood, folks recommend applying a conditioner or sealing coat on the wood. The most common recommendations actually call for two coats so that the surface is as flat as possible. For some woods, this is unnecessary.
Between conditioning and staining, use a finer sandpaper to even out inconsistencies (e.g. 400).
Staining wood
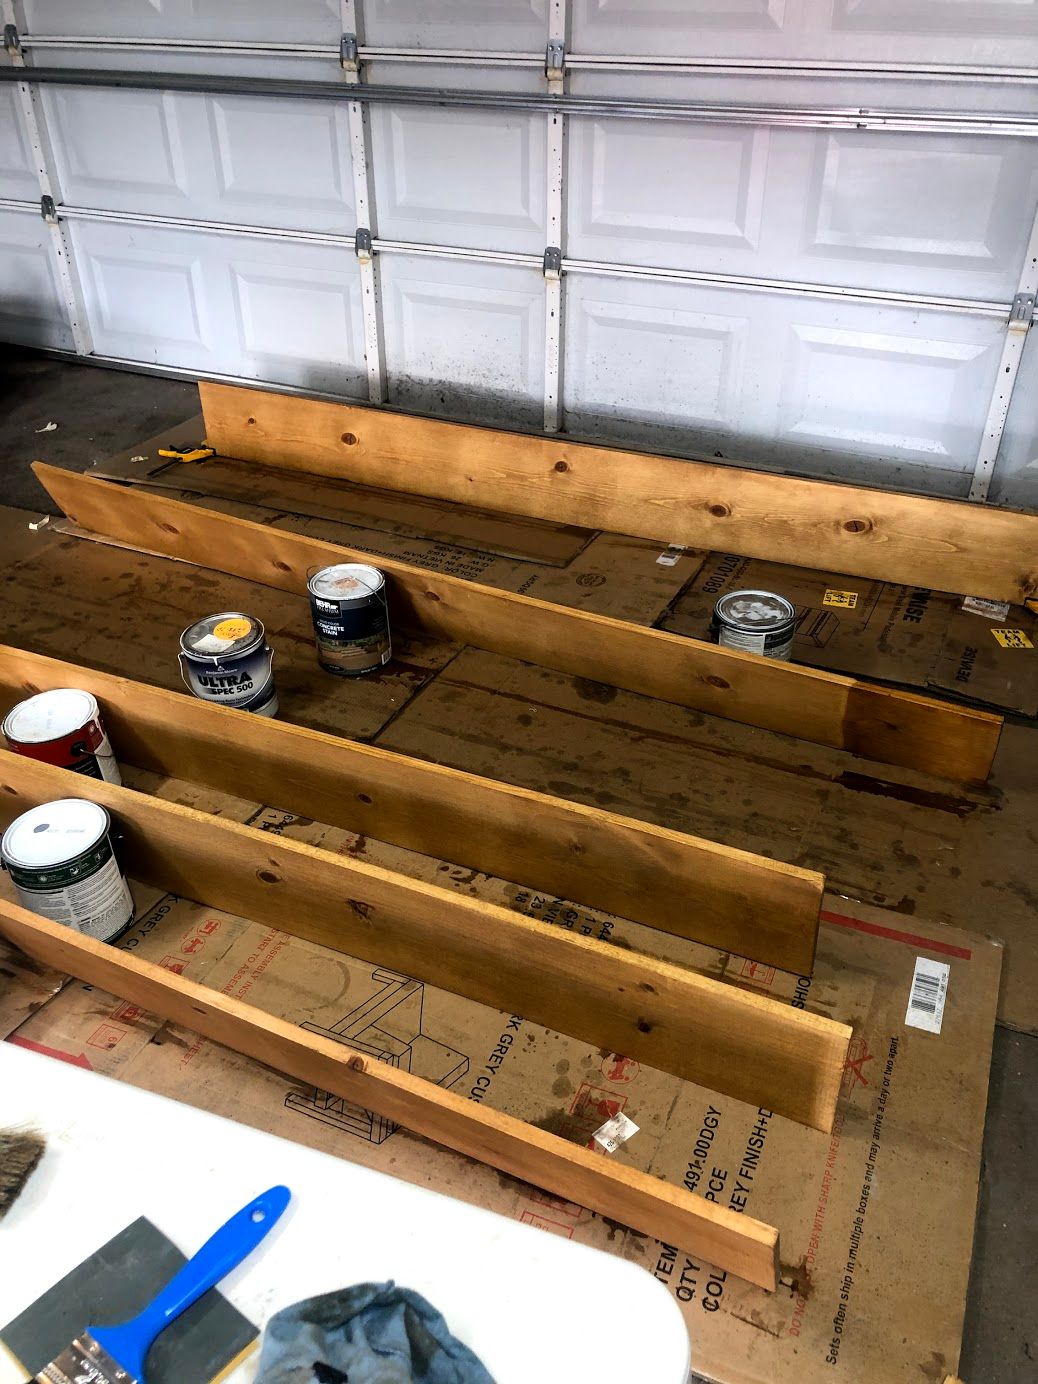
Most resources I looked at argue that staining is an incredibly delicate art. There are tons of different colors, and those colors can be diluted or applied in several coats to achieve different variations of stains. From what I gathered, it’s an incredibly frustrating process, but the main points are the following:
- There are two main types of stains - oil based and water based. Each seem to be relatively similar, but using a water based stain allows you to use a water based finish; oil based stains allows you to use an oil based finish.
- Use multiple coats of stain to achieve darker stains
- Pre-condition woods like pine to avoid blotchy application
- Saturate wood with stain, then wipe off excess along the grain before letting it dry
Finishing wood
This is where it became incredibly complex in my research. There are a lot of ways to finish wood, and I’ve listed the major ones below:
- Wax - More expensive, wiped on. Non-toxic, durable, and easy to apply.
- Shellac - Brushed or wiped on. Natural, can be mostly colorless or colored. Can be used under a poly or other finish, or as a top coat. Can be re-applied easily.
- Lacquer - More expensive, usually sprayed on. Creates a film finish that can be colorless or colored. Extremely durable and quick drying. Can be re-applied easily.
- Varnish - Cheaper, usually sprayed on. Creates a film finish that’s colorless, durable, and quick drying. Better UV protection.
- Polyurethane (water or oil based) - Cheaper, applied with paint brush or wipe on. The most durable finish, but can end up looking plasticy. Often used for flooring. Spar poly is used for exterior finishing, and has slightly different properties.
Type - Useful On
- Wax - Shelves, food-safe items (e.g. cutting boards)
- Shellac - Shelves, antique furniture, cabinets
- Lacquer - Interior decorative pieces
- Varnish - Outdoor furniture, trim work, decks
- Polyurethane - Bar tops, counter tops, desk, chairs, floors, utility surfaces, coffee tables, nigh stands
I'm sure I missed some use cases and properties, but the above is the gist of what I’ve read. While each finish has different properties in terms of UV tolerance, water resistance, etc., ultimately the finish you use depends on the resulting look/feel and use case of the item you’re finishing.
Resources that I found helpful:
- How to Choose a Wood Finish - https://www.youtube.com/watch?v=E33TZnGrLQg
- Finishes and how to apply them - https://www.youtube.com/watch?v=jZRLZXAPtmI
- How to stain pine - https://www.popularwoodworking.com/techniques/aw-extra-101013-staining-pine/
- What finish is safe for bookshelves? - https://www.finewoodworking.com/forum/what-finishes-are-safe-for-bookshelves
- Flexner on Finishing - http://woodtools.nov.ru/books/Understanding_Wood_Finishes.pdf
Other tips:
- Get clamps to keep boards upright when applying coats - it's both easier and faster (e.g. you don't have to wait for a coat to dry to flip the boards). Sawhorses are also great!
- Have an old shirt or rag handy for evening out any coat that is applied
- Stain scrap boards to get a sense of how deep the color will appear - don't use the boards you intend to use in your project
Update [4/23]: Here's the finished product! I used a clear shellac finish.
